# Biome 2026: Linter + Formatter ทดแทน ESLint & Prettier เร็วขึ้น 35x สำหรับ Dev ไทย
ทีม Dev สมัยใหม่ที่ทำงานกับ JavaScript และ TypeScript คุ้นเคยกับการตั้งค่า ESLint + Prettier + plugins มากมายเพื่อตรวจสอบโค้ดและจัดรูปแบบ แต่กระบวนการนี้มาพร้อมราคาที่ต้องจ่ายคือเวลา install ที่นาน config file ที่กระจัดกระจาย และ CI ที่กิน CPU มาก
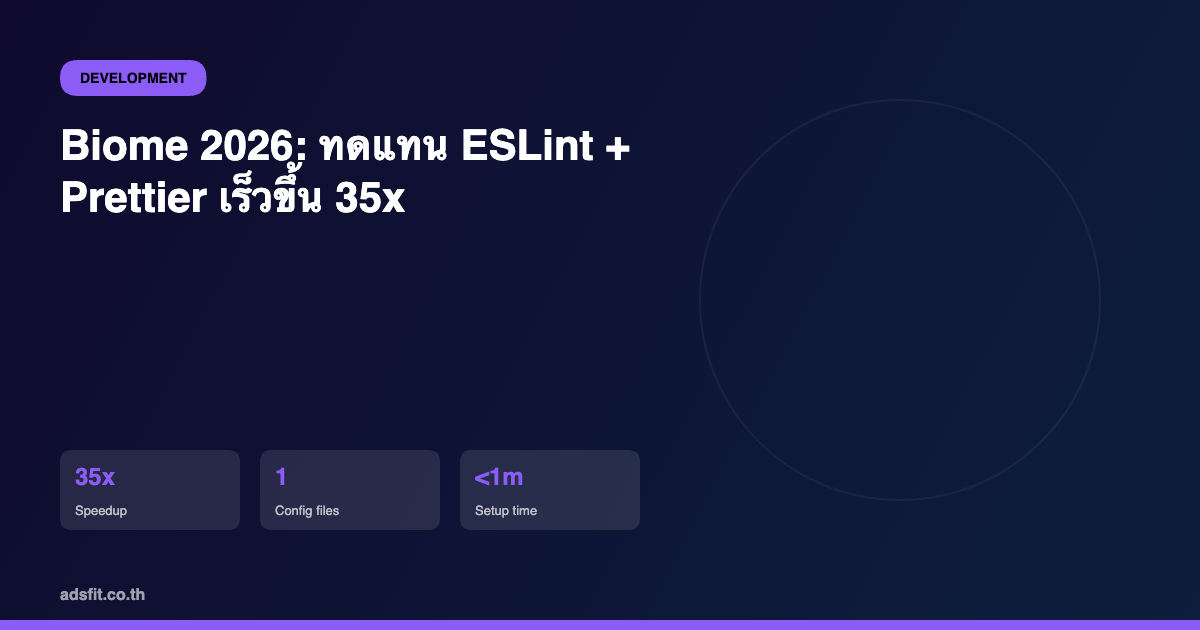
Biome คือ toolchain ที่เขียนด้วย Rust รวม linter และ formatter เข้าไว้ในเครื่องมือเดียว ตามผลทดสอบจากโครงการขนาดใหญ่ Biome ทำงานเร็วกว่า ESLint + Prettier ประมาณ 25-35 เท่า ทำให้ลดเวลา CI และ pre-commit hook ลงได้อย่างเห็นได้ชัด
บทความนี้จะอธิบายว่า Biome คืออะไร เปรียบเทียบกับ ESLint + Prettier วิธีติดตั้ง การตั้งค่าและ migration รวมถึงวิธีนำเข้า CI ของทีม Dev ไทยปี 2026
Biome คืออะไร
Biome เป็น toolchain แบบ all-in-one สำหรับ web project ที่กำเนิดจากการ fork ของ Rome Tools ปัจจุบันได้รับการสนับสนุนจากชุมชน Open-Source โดย Biome v2.x ในปี 2026 รองรับ JavaScript, TypeScript, JSX, TSX, JSON, JSONC, CSS, GraphQL และทดลอง HTML/Vue/Svelte
จุดเด่นของ Biome
Biome เทียบกับ ESLint + Prettier
| คุณสมบัติ | Biome | ESLint + Prettier |
|----------|-------|-------------------|
| เขียนด้วย | Rust | JavaScript |
| ความเร็ว lint 100k LoC | ~0.5s | ~15s |
| จำนวน config file | 1 (biome.json) | 2-3 (.eslintrc, .prettierrc, plugins) |
| Plugin ecosystem | กำลังเติบโต | กว้างขวางกว่า |
| Monorepo | รองรับ native | ต้องตั้ง shared config |
| Auto-fix | มี | มี (เฉพาะบางกฎ) |
| Setup time | < 1 นาที | 5-15 นาที |
| Dependencies | 1 | 30+ |
ในด้านความเร็ว Biome เร็วกว่ามาก แต่ในด้าน plugin ecosystem ESLint ยังคงมีตัวเลือกมากกว่า ดังนั้นทีมที่พึ่งพา plugin เฉพาะทาง เช่น `eslint-plugin-jest-dom` หรือ rules custom ของบริษัท ควรประเมินก่อนย้าย
ขั้นตอนติดตั้ง Biome
Step 1: ติดตั้ง Biome ผ่าน npm/pnpm
```bash
# npm
npm install --save-dev --save-exact @biomejs/biome
# pnpm
pnpm add --save-dev --save-exact @biomejs/biome
# yarn
yarn add --dev --exact @biomejs/biome
```
Step 2: สร้างไฟล์ config
```bash
npx @biomejs/biome init
```
คำสั่งนี้จะสร้างไฟล์ `biome.json` ที่ root ของโปรเจค
Step 3: รันคำสั่ง check
```bash
npx biome check ./src
npx biome check --write ./src # auto-fix
```
Step 4: ผูกเข้า package.json
```json
{
"scripts": {
"lint": "biome check ./src",
"format": "biome format --write ./src",
"ci": "biome ci ./src"
}
}
```
ตัวอย่าง biome.json สำหรับโปรเจค Next.js
```json
{
"$schema": "https://biomejs.dev/schemas/2.0.0/schema.json",
"vcs": { "enabled": true, "clientKind": "git", "useIgnoreFile": true },
"files": { "ignoreUnknown": false, "ignore": [".next/", "dist/"] },
"formatter": {
"enabled": true,
"indentStyle": "space",
"indentWidth": 2,
"lineWidth": 100
},
"linter": {
"enabled": true,
"rules": {
"recommended": true,
"complexity": { "noForEach": "off" },
"style": { "noNonNullAssertion": "warn" }
}
},
"javascript": {
"formatter": {
"quoteStyle": "single",
"semicolons": "always"
}
}
}
```
Migration จาก ESLint + Prettier มา Biome
Biome มีคำสั่งช่วย migrate config เก่าโดยอัตโนมัติ
```bash
# จาก ESLint
npx biome migrate eslint --write
# จาก Prettier
npx biome migrate prettier --write
```
หลัง migrate ให้ตรวจสอบ
การใช้งานใน VS Code
ติดตั้ง Biome extension แล้วเพิ่ม settings.json ดังนี้
```json
{
"editor.defaultFormatter": "biomejs.biome",
"editor.formatOnSave": true,
"editor.codeActionsOnSave": {
"quickfix.biome": "explicit",
"source.organizeImports.biome": "explicit"
},
"[typescript]": { "editor.defaultFormatter": "biomejs.biome" },
"[typescriptreact]": { "editor.defaultFormatter": "biomejs.biome" }
}
```
ตั้งค่า Biome ใน CI/CD
GitHub Actions
```yaml
name: CI
on: [push, pull_request]
jobs:
ci:
runs-on: ubuntu-latest
steps:
```
GitLab CI
```yaml
lint:
image: node:20
script:
```
Pre-commit Hook ด้วย lefthook หรือ husky
```yaml
# lefthook.yml
pre-commit:
commands:
biome:
run: npx biome check --staged --no-errors-on-unmatched
glob: "*.{js,ts,jsx,tsx,json}"
```
Performance Benchmark จริง
| ขนาดโปรเจค | ESLint + Prettier | Biome | เร็วขึ้น |
|------------|-------------------|-------|---------|
| 10k LoC | 1.8s | 0.06s | 30x |
| 100k LoC | 15s | 0.5s | 30x |
| 500k LoC | 95s | 2.7s | 35x |
หมายเหตุ: ทดสอบบน MacBook Pro M2 8-core, ใช้ค่า rule recommended
ข้อควรระวังก่อนย้ายไป Biome
สรุปและคำแนะนำ
สำหรับโปรเจคใหม่ในปี 2026 Biome คือตัวเลือกที่เหมาะสมที่สุดสำหรับ JavaScript และ TypeScript โดยเฉพาะอย่างยิ่งสำหรับ SME และ startup ที่ต้องการประหยัดทั้งเวลา CI และเวลา onboard developer ใหม่ การติดตั้งใช้เวลาไม่ถึง 1 นาที และ config มีไฟล์เดียวให้ทีมเข้าใจง่าย
สำหรับโปรเจคที่มี ESLint config ซับซ้อน ทางเลือกที่ปลอดภัยคือใช้ Biome เป็น formatter ก่อน แล้วค่อยทยอยย้าย rule lint ทีละกลุ่ม วิธีนี้จะลดความเสี่ยงและทำให้ทีมคุ้นเคยกับ workflow ใหม่ก่อน
สำหรับทีม Dev ไทยที่ต้องการคำปรึกษาในการประเมินและย้ายมาใช้ Biome ติดต่อทีมงาน ADS FIT เพื่อรับคำแนะนำจากผู้เชี่ยวชาญด้าน DevTools และ DX หรืออ่านบทความ Cline AI Coding Agent กับ Cypress E2E Testing เพื่อต่อยอด Toolchain ที่ทันสมัย